
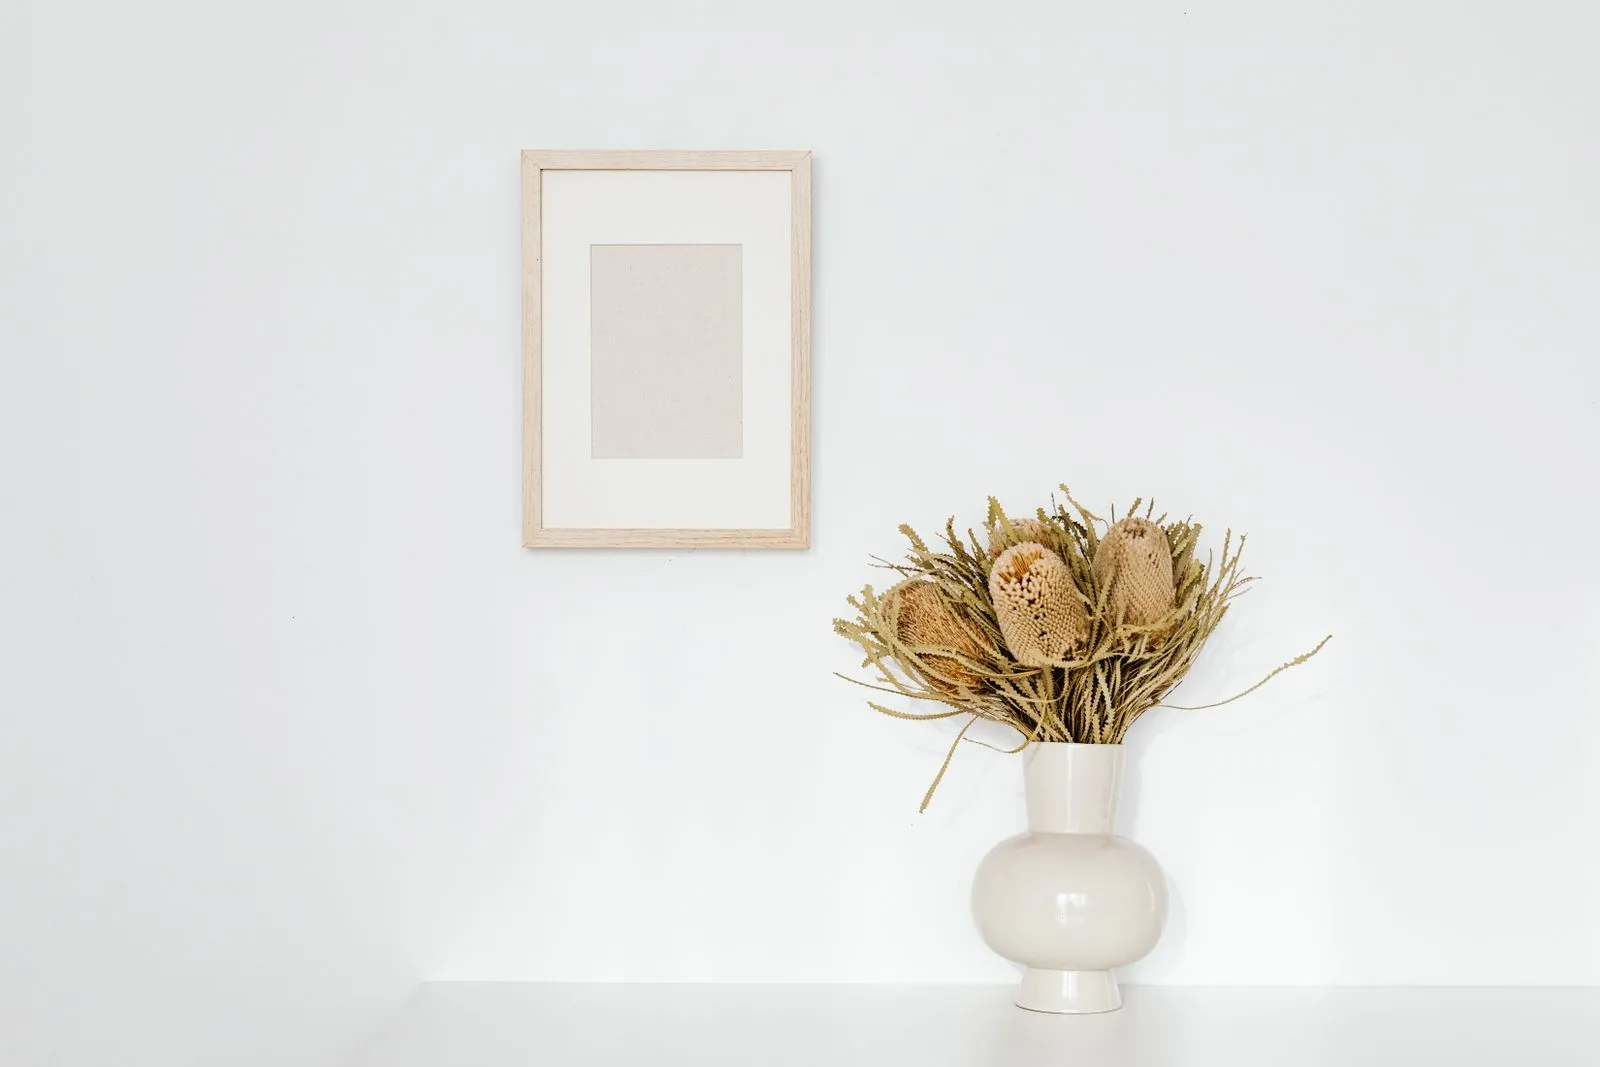
A gallery wall can bring favorite photos together without making your room feel crowded. The key is to plan the frames as a group before you start hanging them. Consider the wall’s size, the images you want to display, and the room’s colors. Then test your layout on the floor or with paper templates. A little planning helps you create a display that feels collected and personal, rather than mismatched or overly uniform.
Start With the Wall and Photos
Measure the area you want to fill, including the furniture or architectural features below or beside it. Keep the arrangement in proportion: a grouping above a sofa, for example, should relate to the sofa’s width rather than float as a small cluster. Mark the intended outer edges with painter’s tape so you can picture the gallery wall in the room before choosing frame sizes.
Gather the photos and artwork you want to include, then note each piece’s dimensions and orientation. Mix portraits, landscapes, and square images if you like, but look for a visual connection such as a shared subject, color, place, or moment. If several images compete for attention, choose one or two favorites as focal points and let the others support them.
Choose Frame Sizes and Colors
A range of frame sizes adds movement, while repeating one or two sizes helps the arrangement feel organized. Start with the largest pieces, then use smaller frames to fill the surrounding spaces. Check the frame’s outside dimensions, not just the photo size, because the frame and mat determine how much room each piece takes on the wall.
Choose frame colors that relate to your room or the images. A single finish creates a clean, consistent look; two or three complementary finishes can feel more relaxed. You can also tie different frames together with a shared mat color. Before committing, place the frames together and step back to see whether one color or finish draws too much attention.
Test the Layout and Spacing
Arrange the frames on the floor within the taped outline. Try a grid for a crisp, orderly look or an asymmetrical layout for a more casual feel. Keep the gaps between neighboring frames consistent—often a few inches works well, depending on frame size and wall scale. Measure the spaces rather than relying on eye alone, especially when the arrangement includes several rows.
When the layout feels right, trace each frame onto paper and label the template with its photo or position. Tape the templates to the wall, then check the overall balance from across the room and from the main places where people sit or enter. Adjust the arrangement before drilling. Use picture-hanging hardware suited to the wall and frame weight, and check that each piece sits level.
Make the Group Feel Cohesive
A gallery wall does not need identical frames to look connected. Repeat a few visual details, such as a consistent mat border, a shared frame finish, or a similar color appearing across several photos. Leave enough breathing room around the entire grouping so it reads as one display, while keeping the frames close enough together to feel related.
If you are adding photos over time, leave a small amount of space in the plan for future pieces or keep the layout flexible. At Indy Frame House in Indianapolis, you can explore ready-made frame options and compare sizes and finishes for your display. Bring your photo measurements or a layout sketch to make choosing easier.
Plan the outer dimensions first, balance large and small frames, and repeat a few colors or finishes to connect the display. Test the full arrangement with paper templates before hanging anything, then make adjustments from the room’s usual viewing spots. For help comparing ready-made frame options, contact Indy Frame House or visit the shop.